|
Of all my classes this trimester, this was the class I worried the most about before I got into the classroom, because I didn't know what to expect. I hadn't taken any thing like this class before, and the only reason I took Digital Photography was for an Art Credit. But over the trimester, I've had fun and learned a lot, from composition techniques to different photoshop tools. The first time we went outside and shot pictures, mine were awful. The image on the eft was one of my worst pictures, but throughout the trimester, my pictures kept getting better until I took the picture on the right. I've taken hundreds of photos, yet most of them where awful. Photoshop was more of my speed. There was a ton of different tools that could make a boring picture awesome. My favorite tool was the clone stamp tool, that could duplicate the same image on to other images. My favorite photoshop assignment was retouching the car because of everything you could do to make it your image.
0 Comments
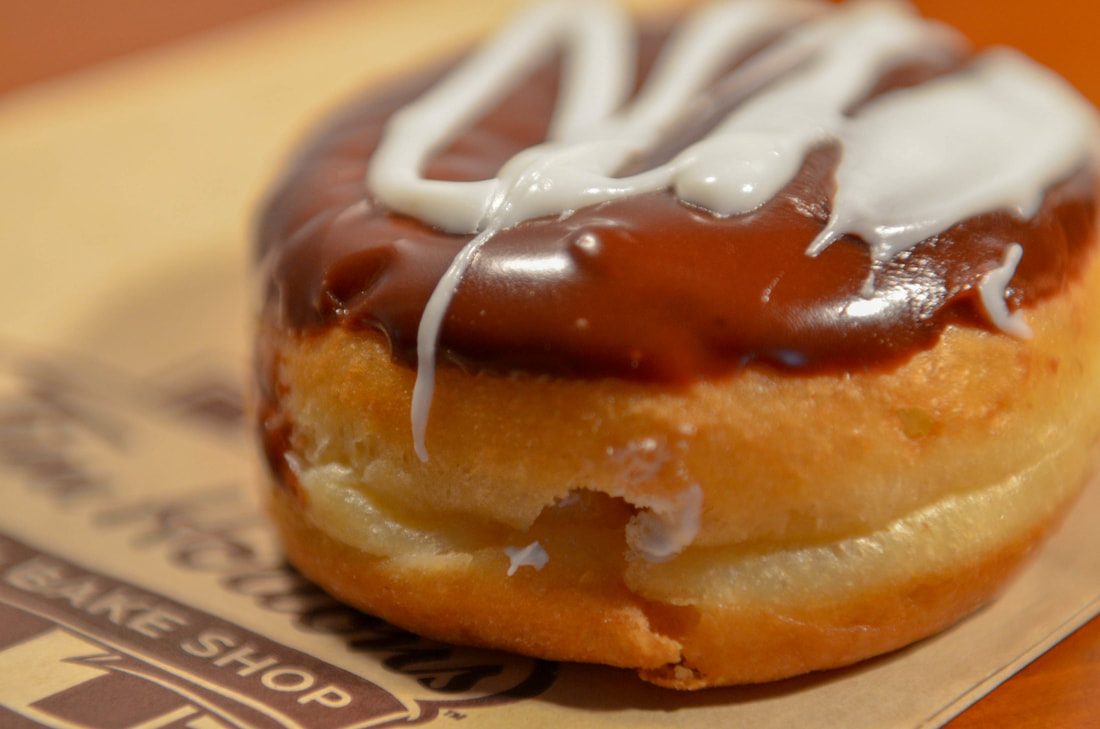
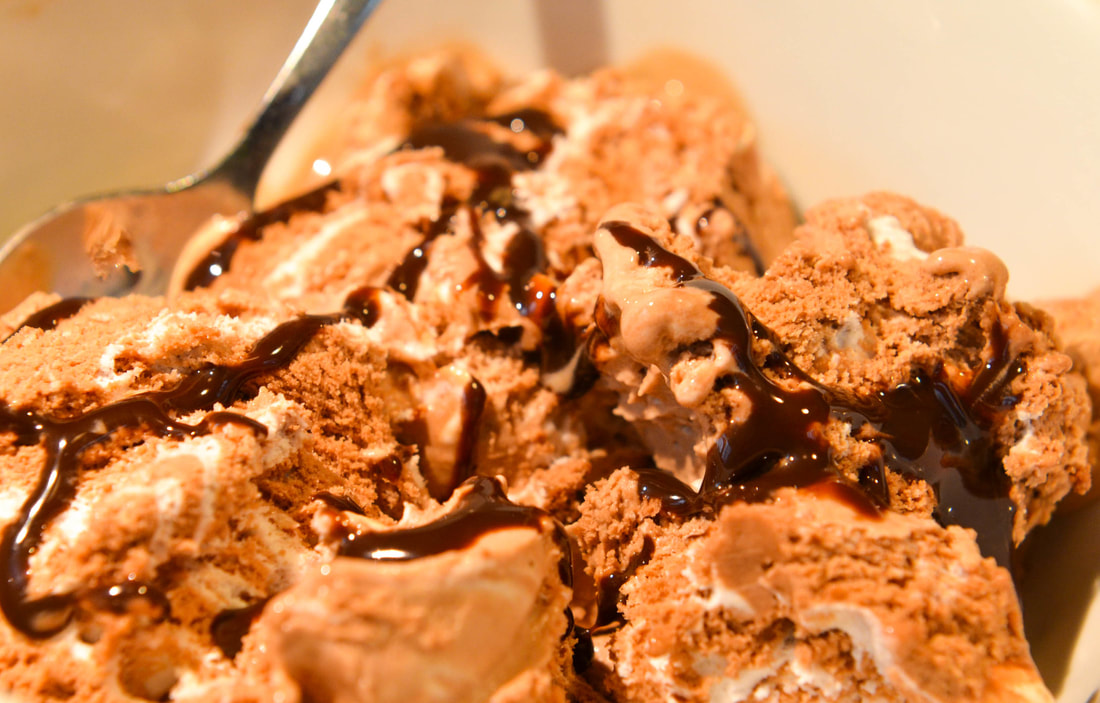
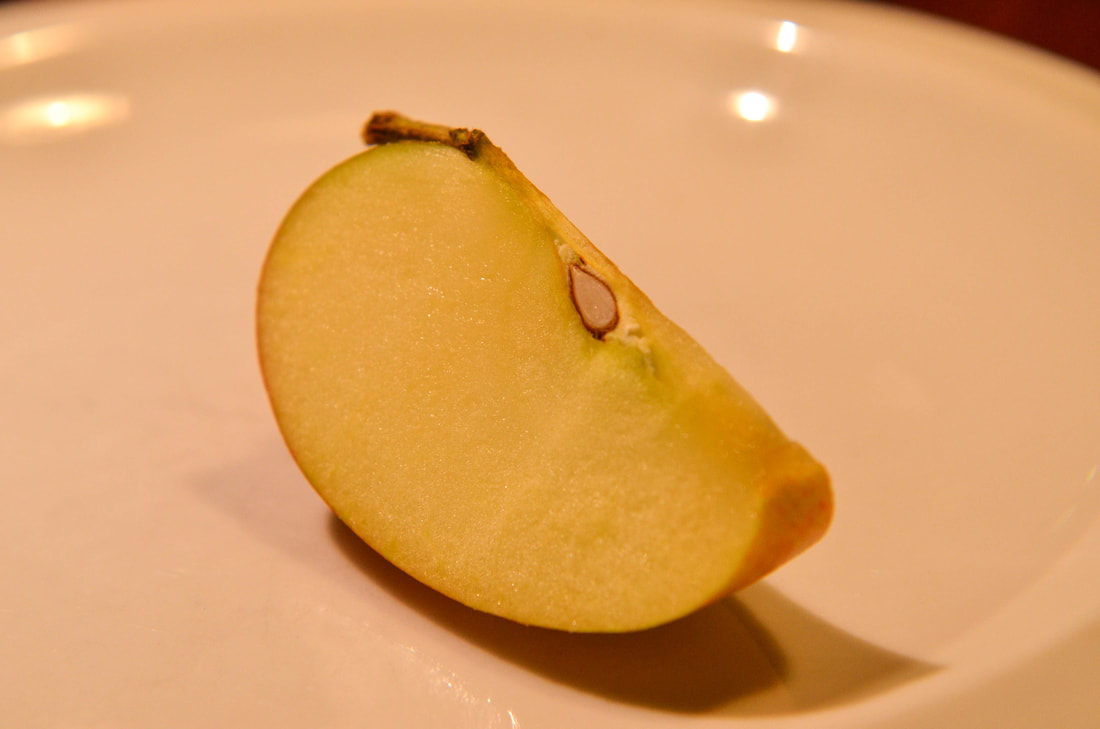
Today we learned how to blur the background while still having a focused subject. The first day, my pictures weren't getting the blur in the background, and din't know how to fix it. The next day, after looking at the diagram again, I realized I had my shutter speed to fast , and when I changed that, my pictures got way better.  For my seventh and final photo shooting assignment, I shot food. I took pictures of most of most food I saw in my house, and at the end of the week I had my 10 best photos. I'm going to miss these photo shoots because I had a lot of fun and I learned a lot, even applying the concept we were learning about lighting. 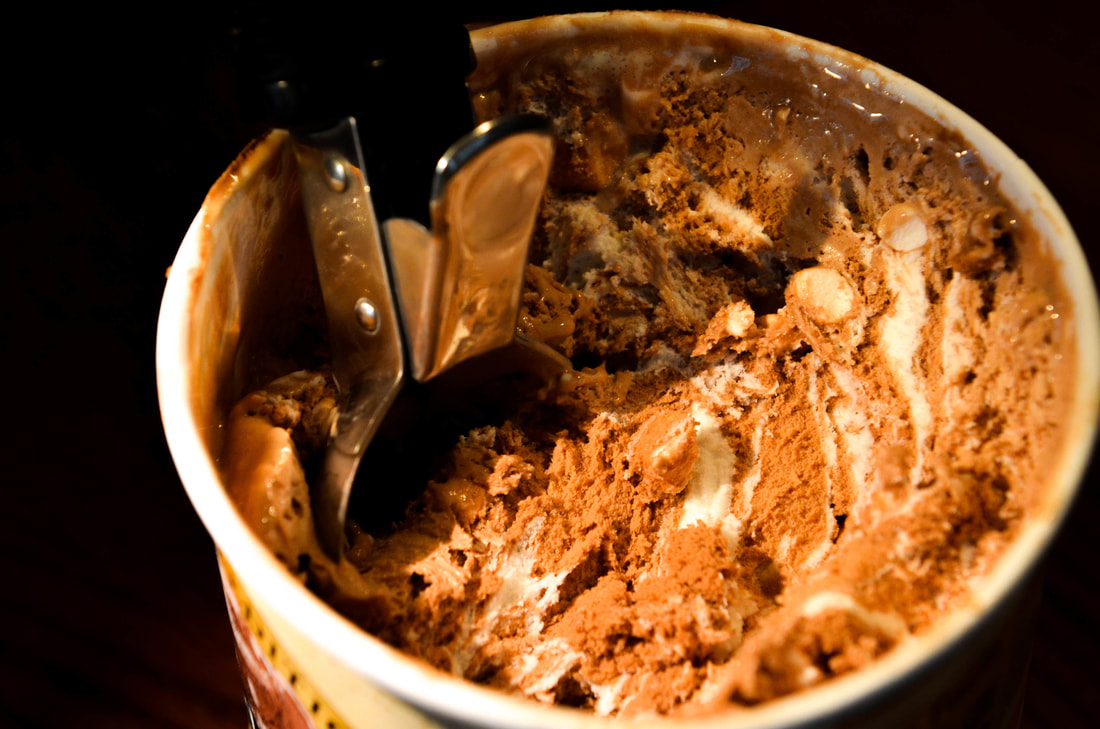 ISO 800, f/5.0 1/320 of a second I edited my best photo in Lightroom, by increasing the contrast, highlights, whites, and vibrance, I ask decreased the shadows and backs to get the background even darker.
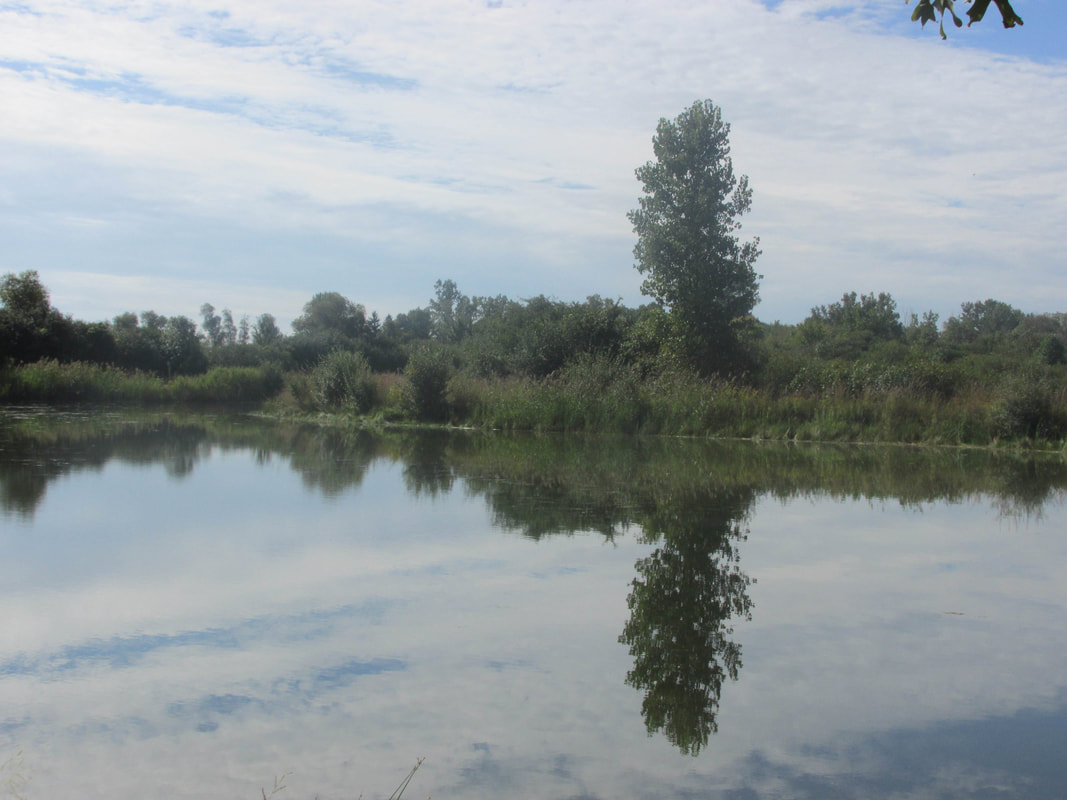
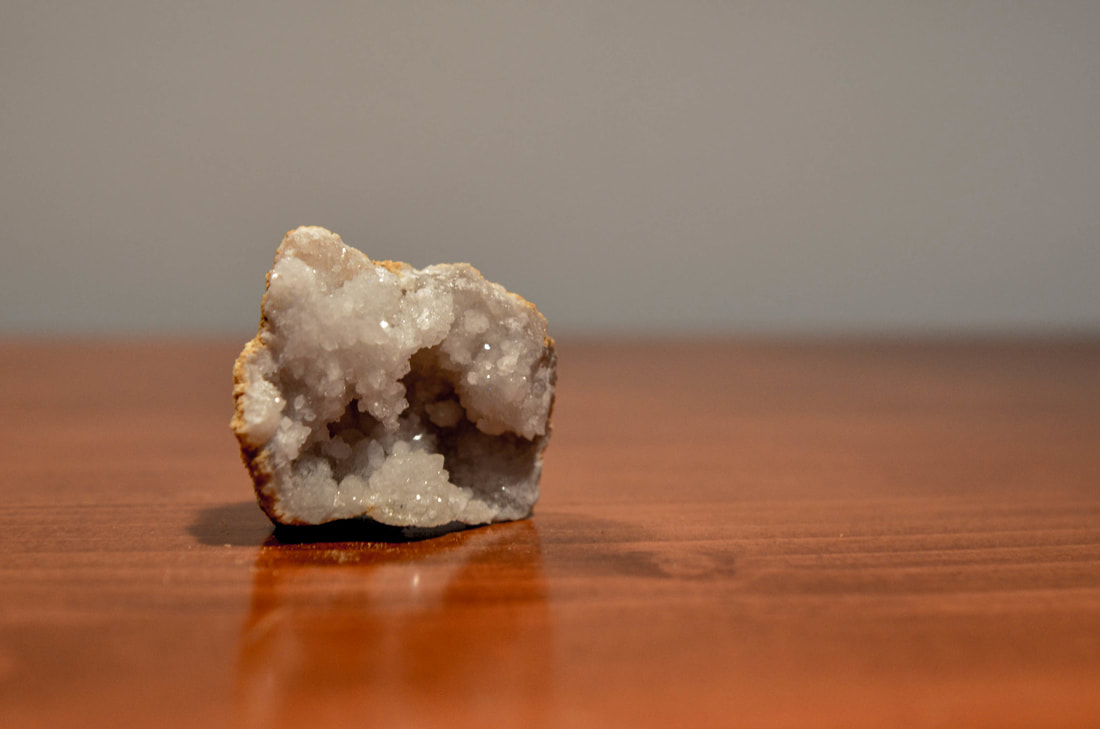
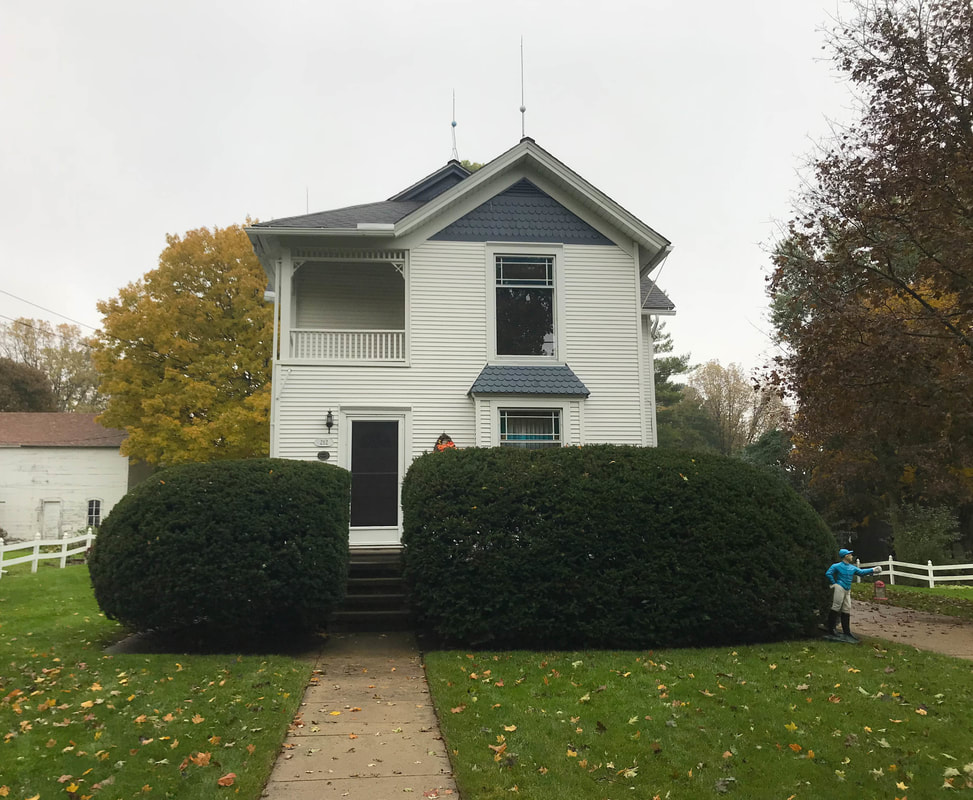
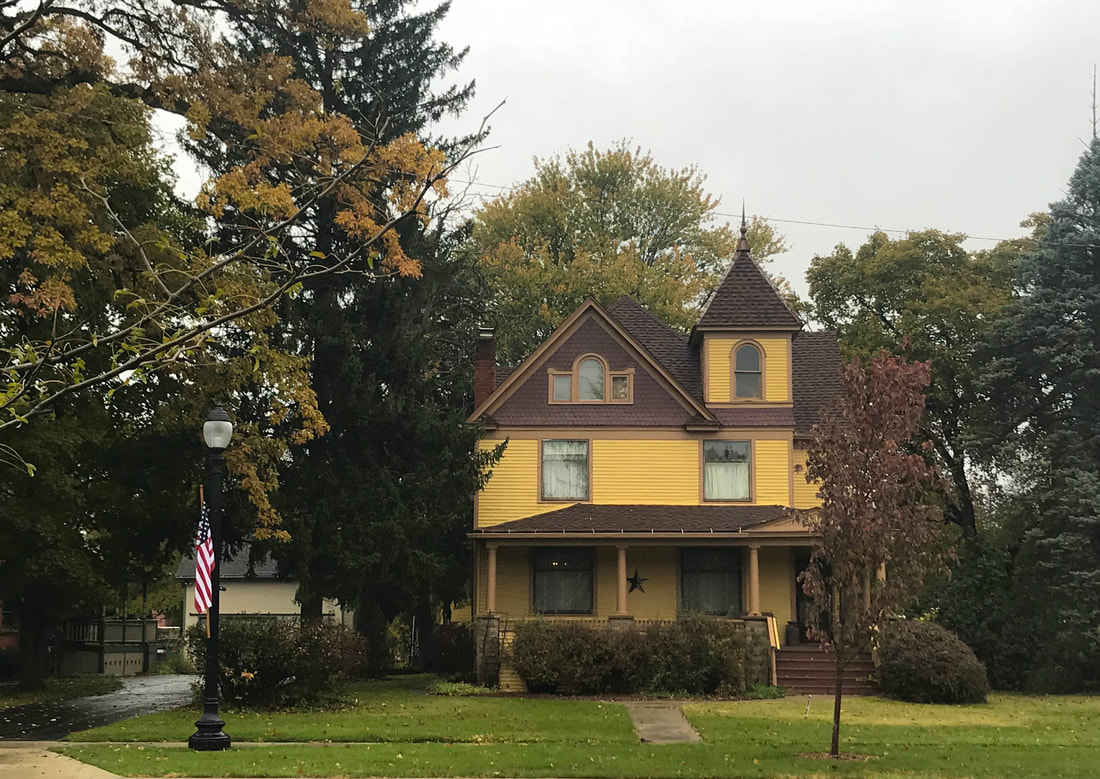
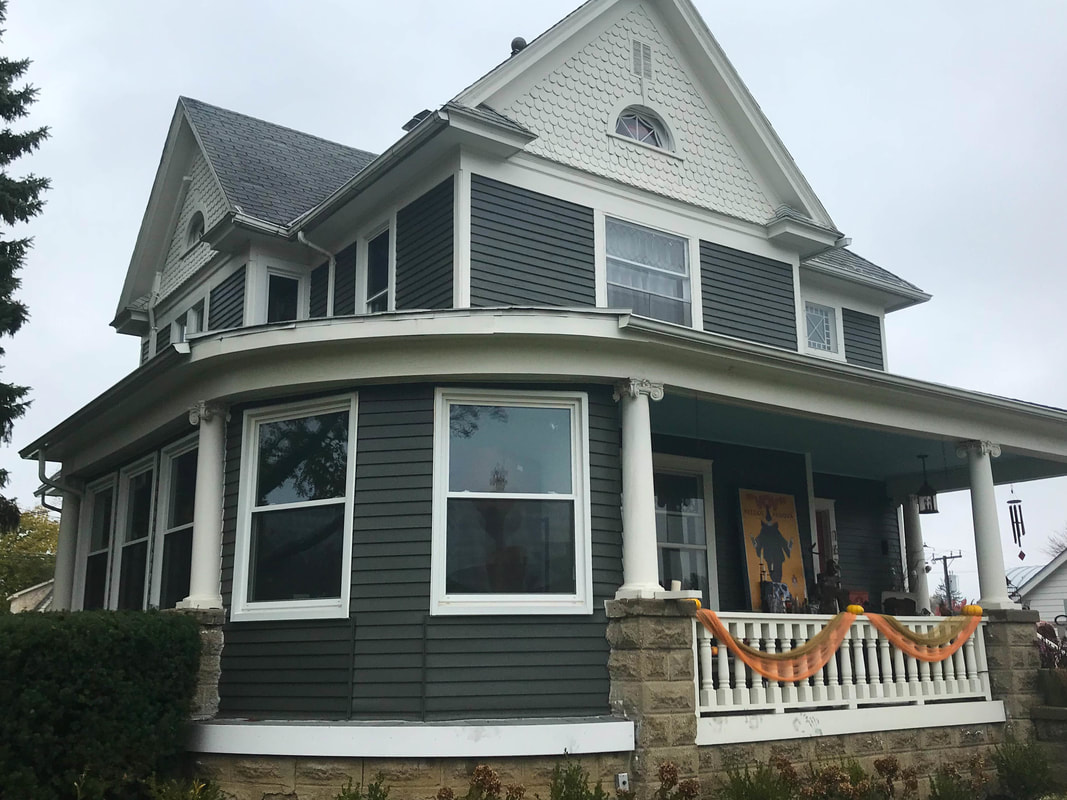
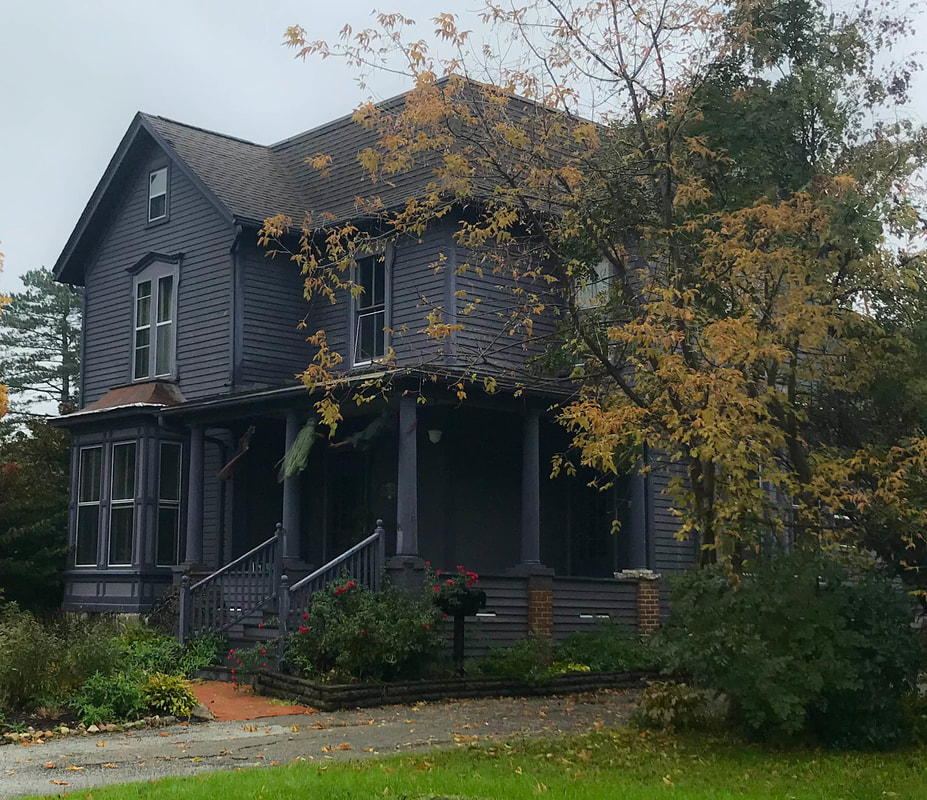
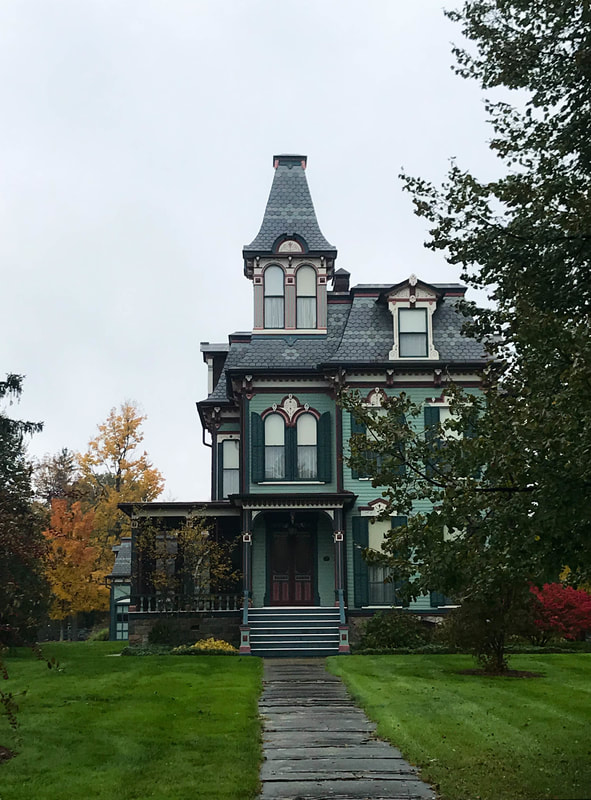
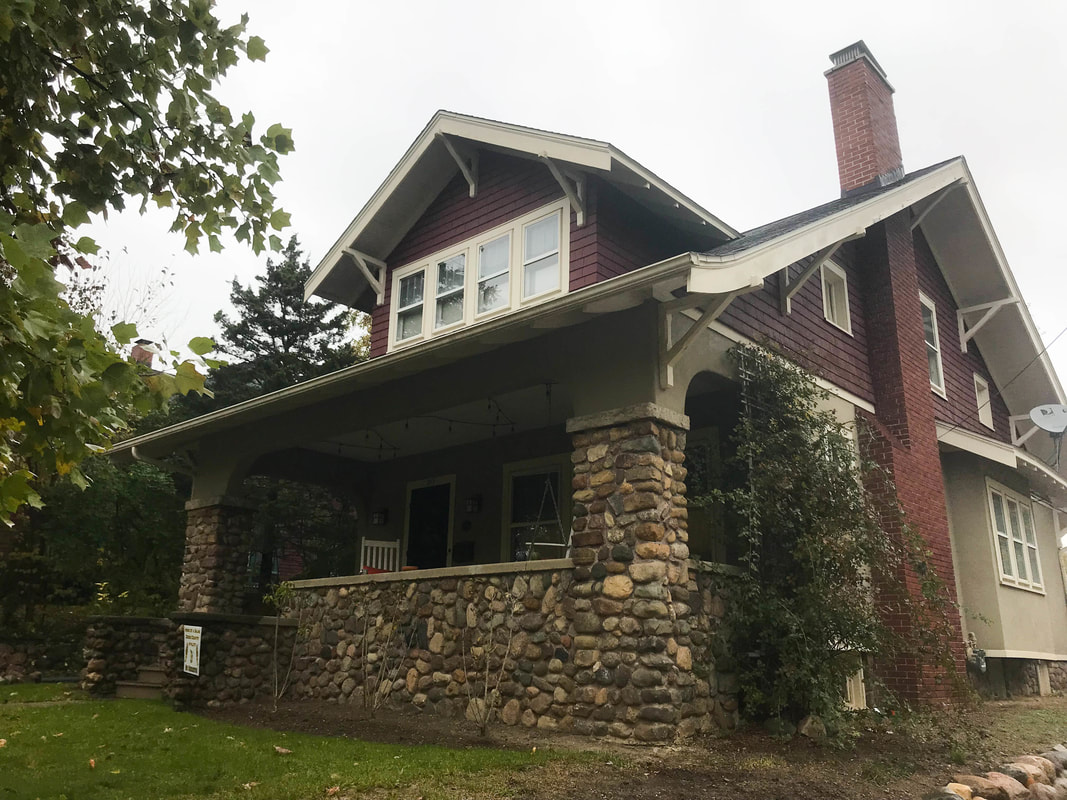
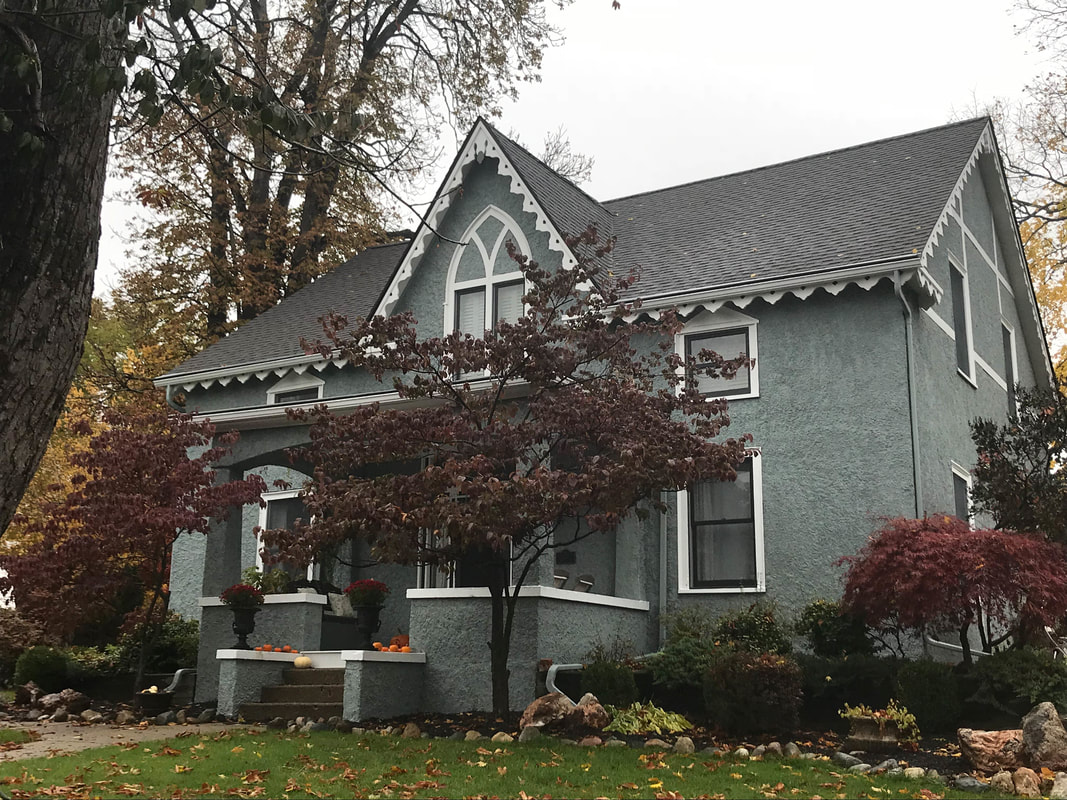
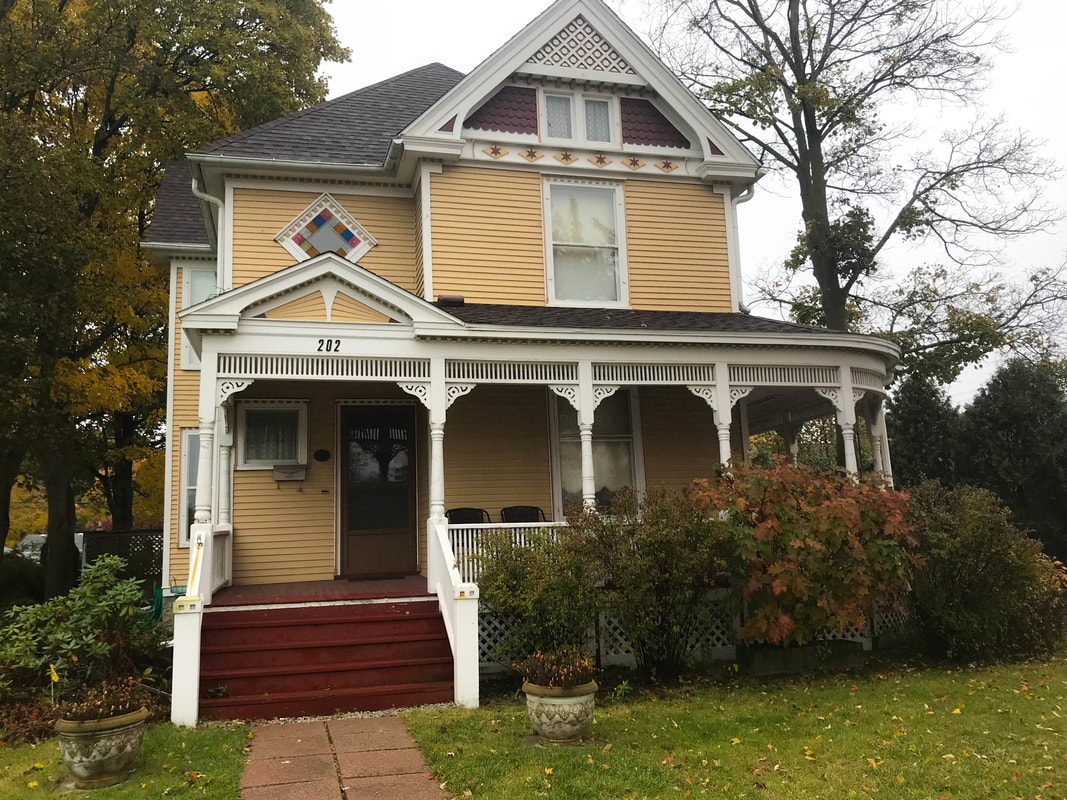
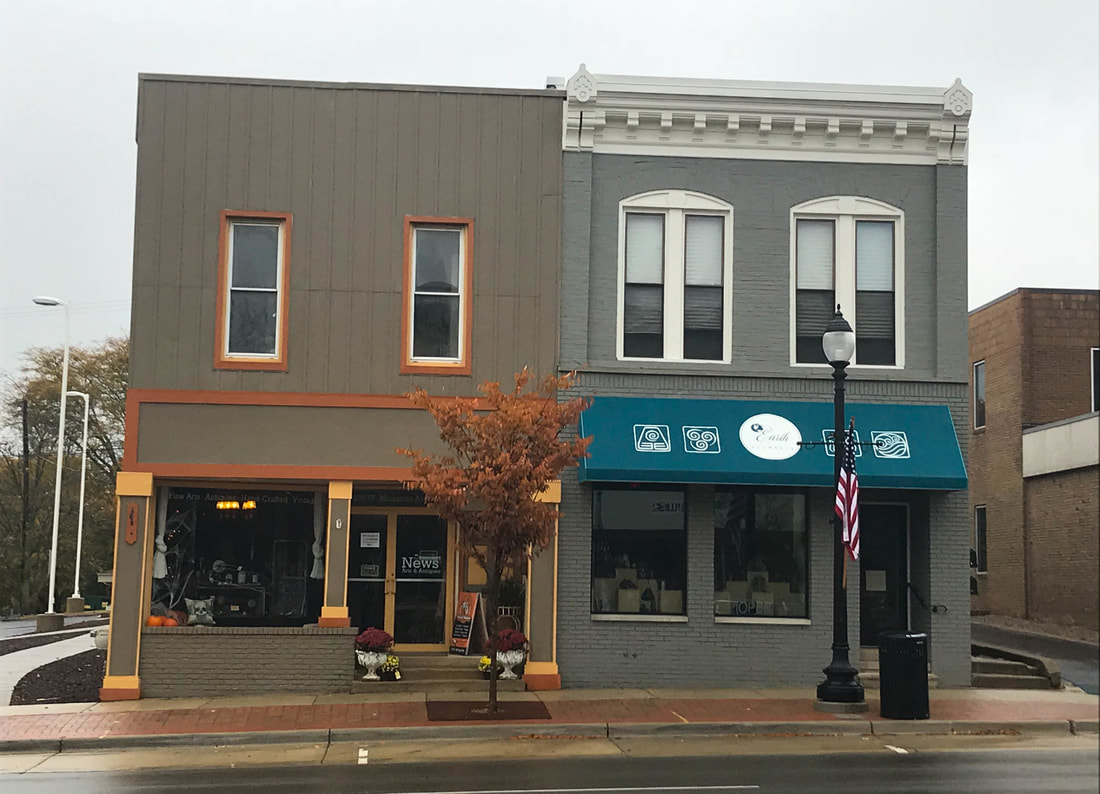
This photoshop assignment, we took portraits using studio lights and window lights. After this assignment, I realized how difficult it is to set up and take pictures, and everything be perfect, even at the professional level. This is my composited portraits image, the left being in the studio, and the right being with the window. 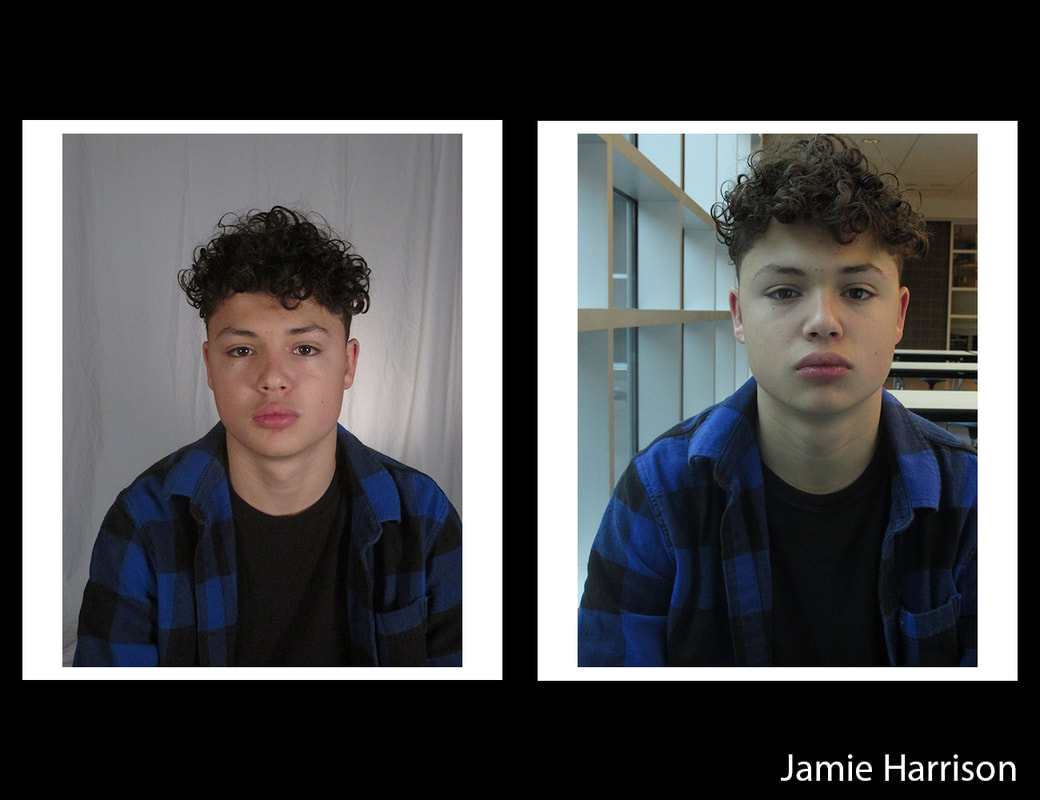 For my sixth photo assignment, I photographed different non-moving objects. I looked around my house and grabbed a bunch of things that I thought would be good photos or fun to take. I learned that wen you set up your photo, you can make it better by have a desk light or lamp so you can control where the light goes.  ISO 800, 1/60 of a second, F/4 In this photo, I increased the exposure, contrast, highlights, shadows, blacks, and vibrance, and I decreased the whites, clarity, and saturation. I also cropped it so it was straight. In this project, we learned how to compost images, or combine multiple images. Our goal was to take a picture of the school and add other pictures to make it spooky for Halloween. We learned what masks are and how to embed images and mask them using the brush tool. In my composite image, I added three cartoon ghosts and two cartoon bats, as well as a new night sky background to make it spooky. 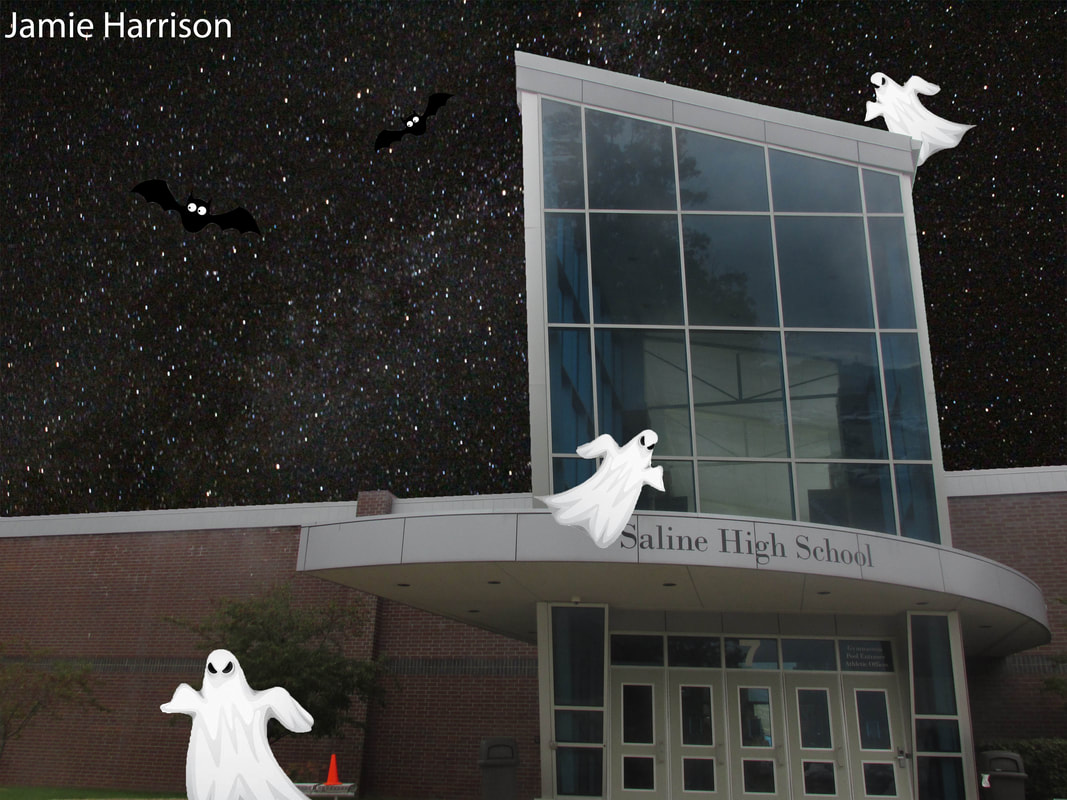 In this assignment, we learned how use layer stacking, scripts, and masks to create an image with multiple of the same person in it. This was a quick and uncomplicated assignment that I had a lot of fun doing. 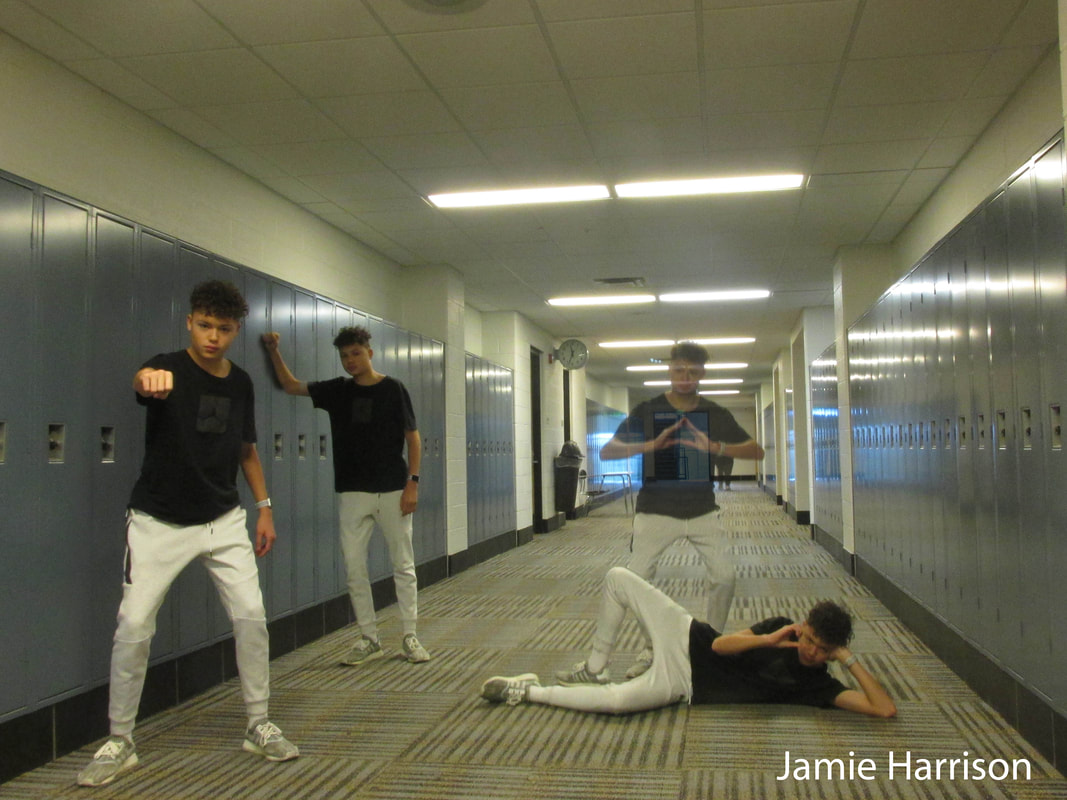 For my fifth photo challenge, I went for a walk around downtown Saline and to pictures of old historic homes. My best ten pictures and weren't as good as they could have been because it was raining and the sky was ugly, but other than b that they turned out well. 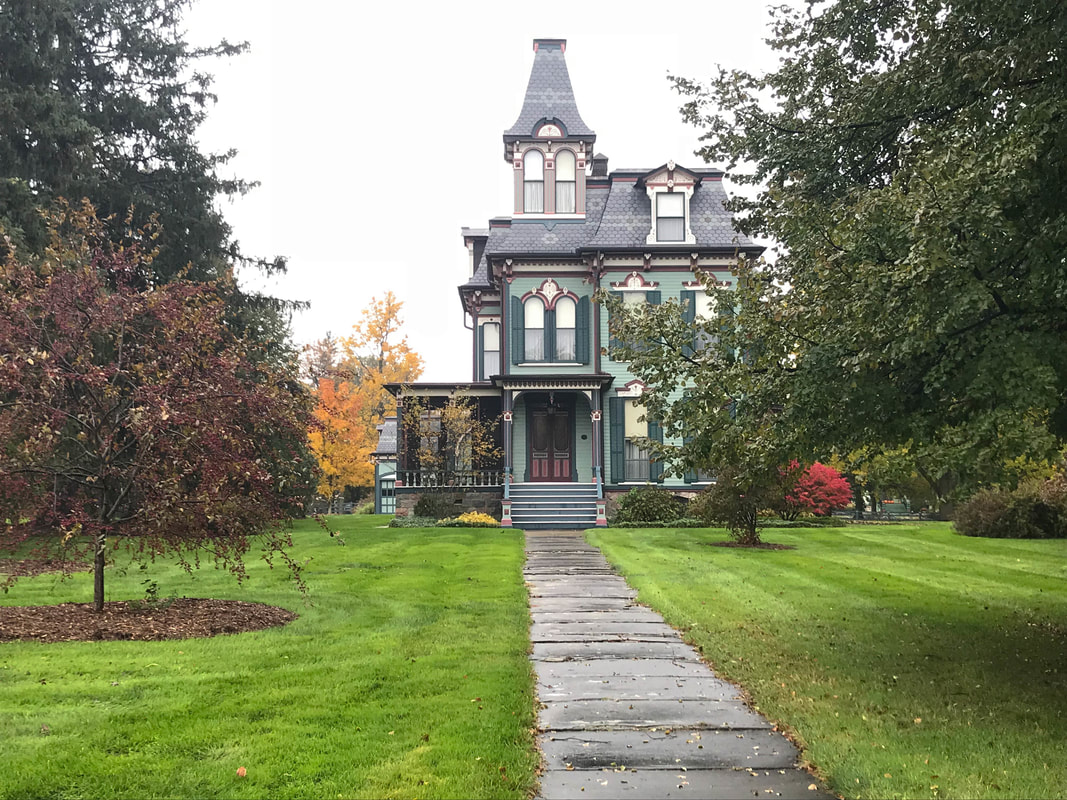 My best photo displaying architecture was of the Curtis Mansion in downtown Saline. I liked how the sidewalk is leading to the building. I editor this picture by lowering the whites and clarity, and increasing the saturation and vibrance.
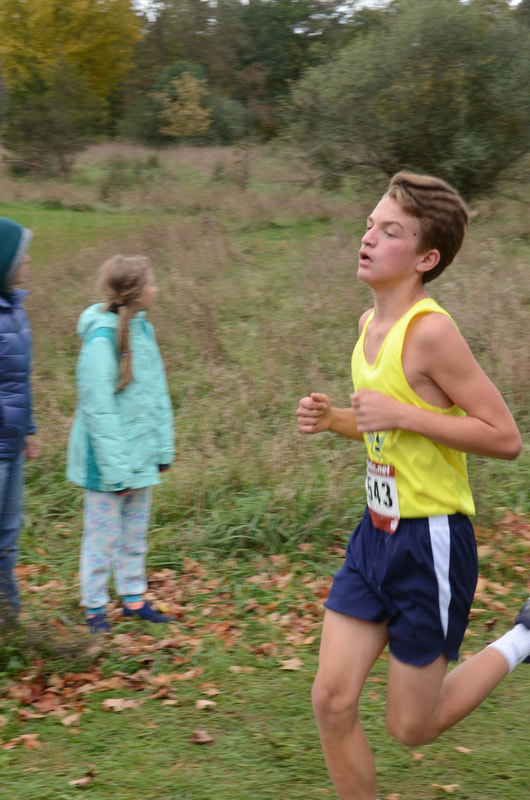
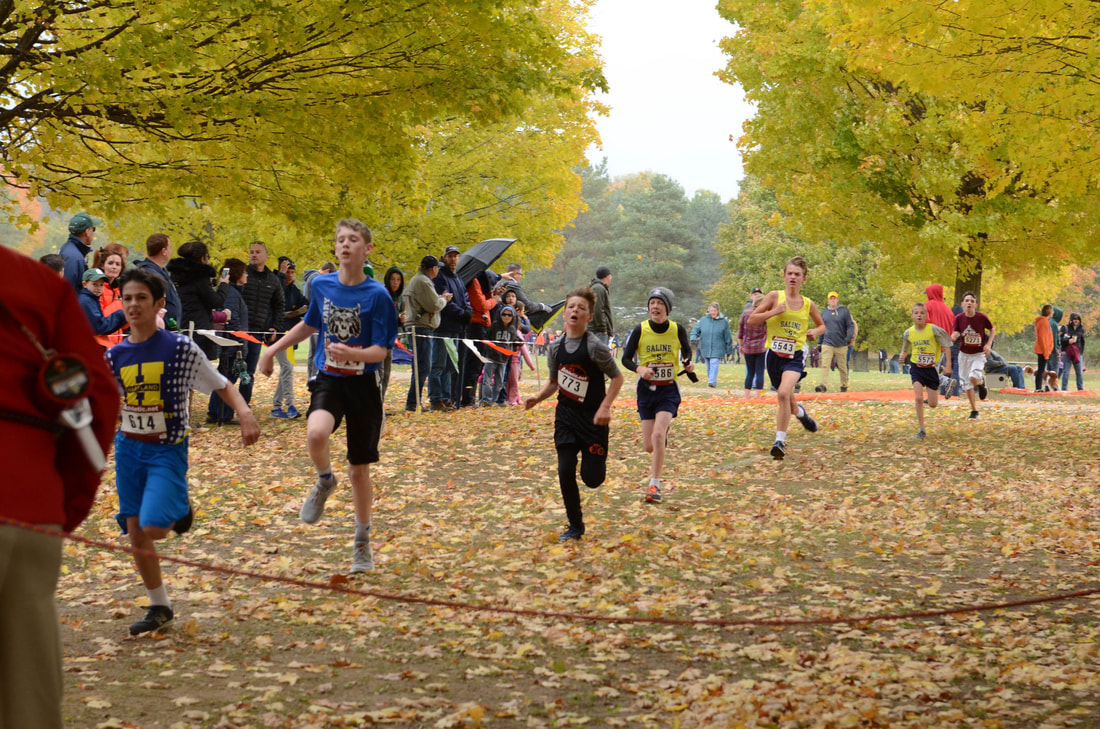
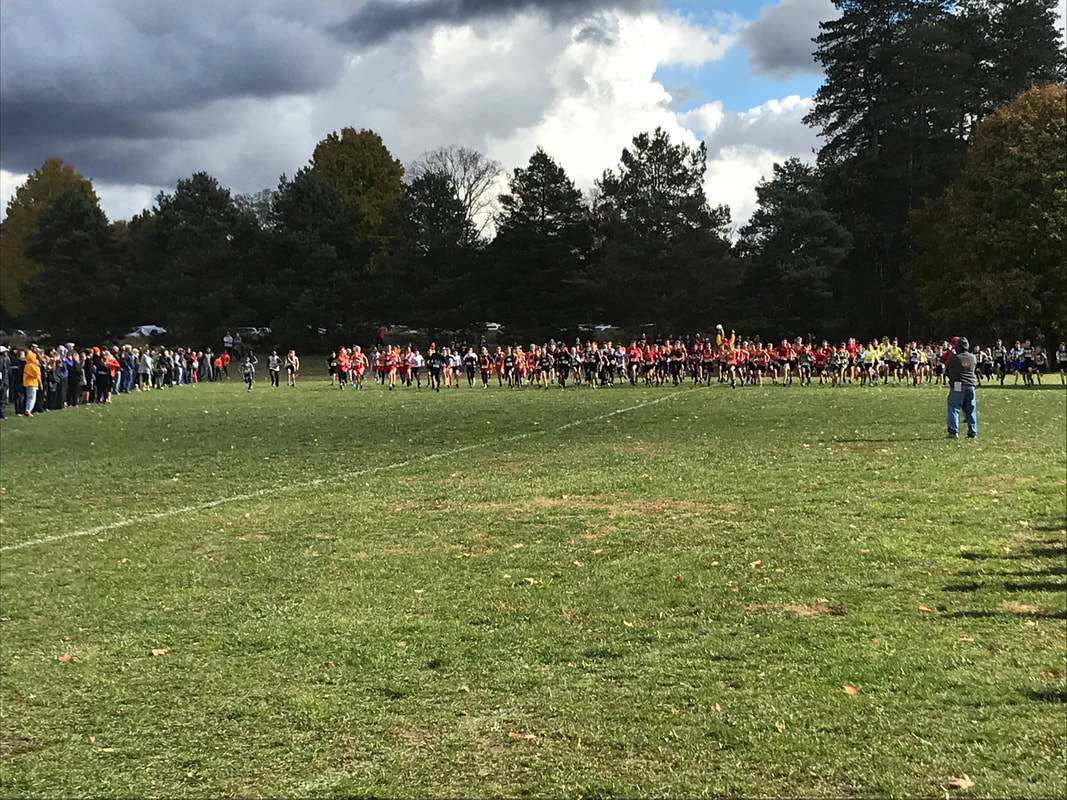
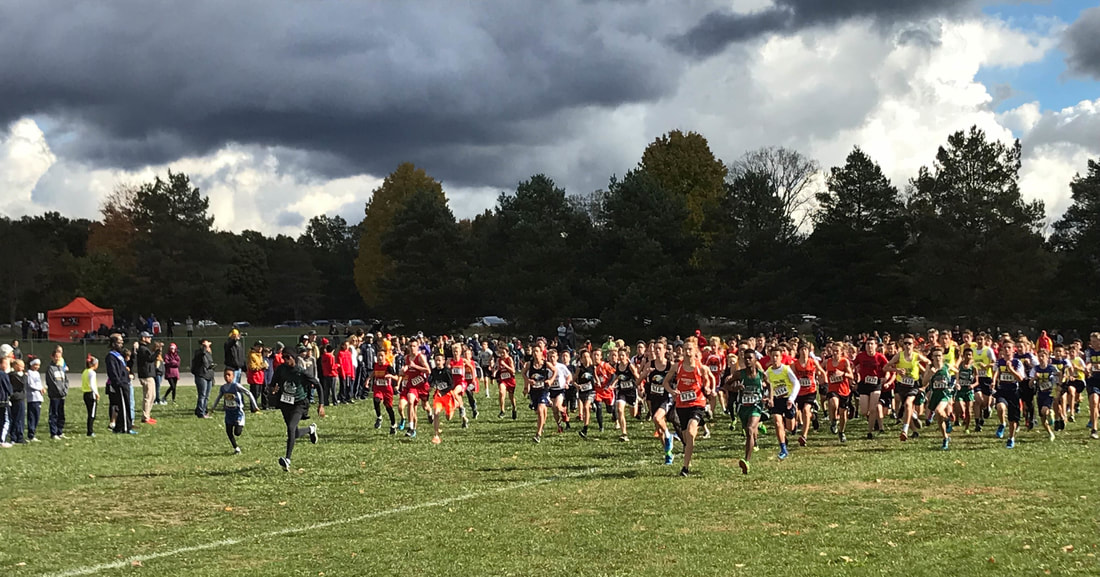
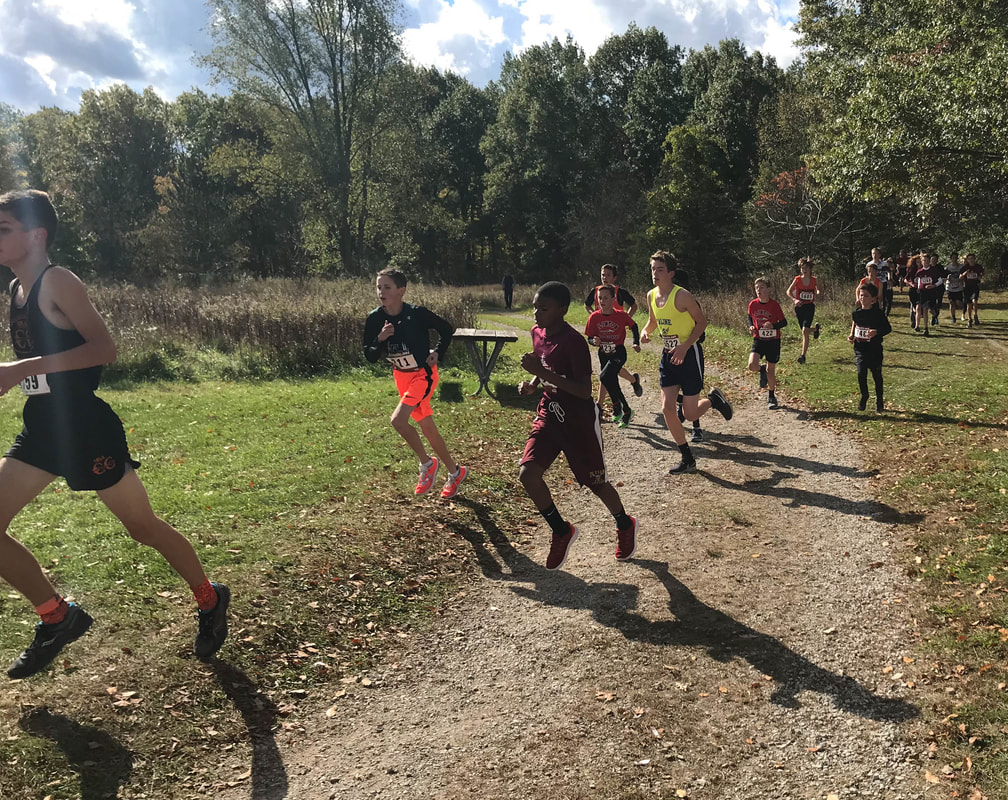
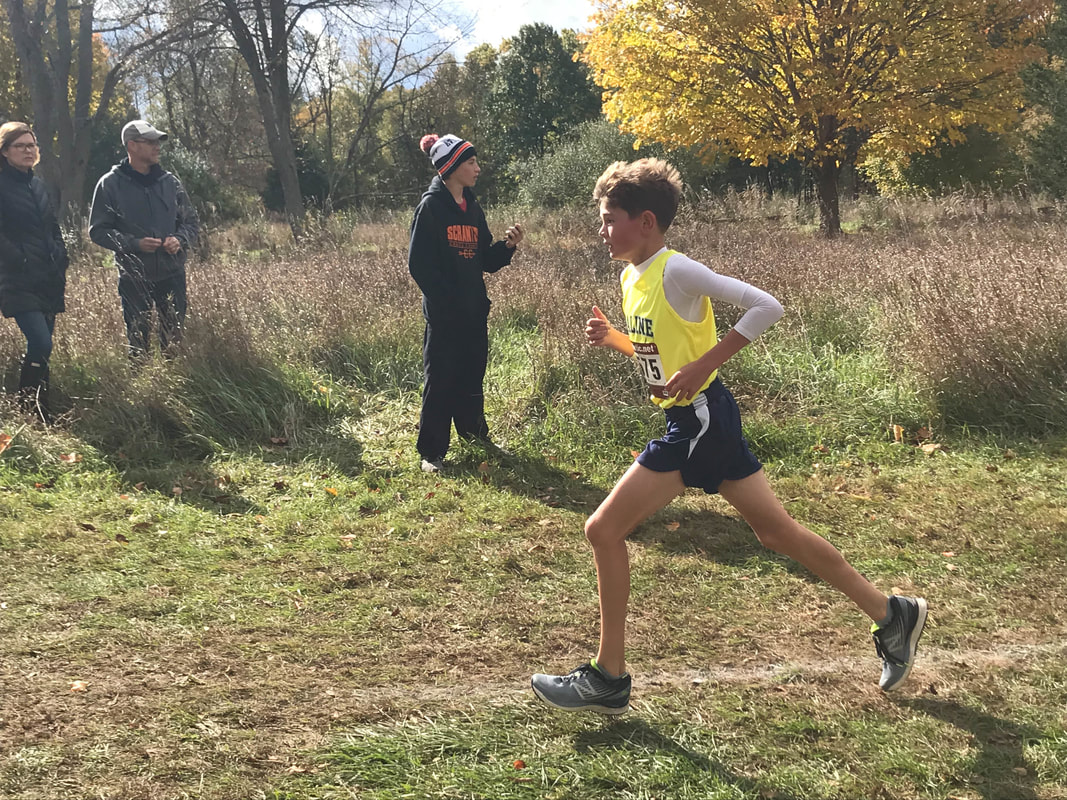
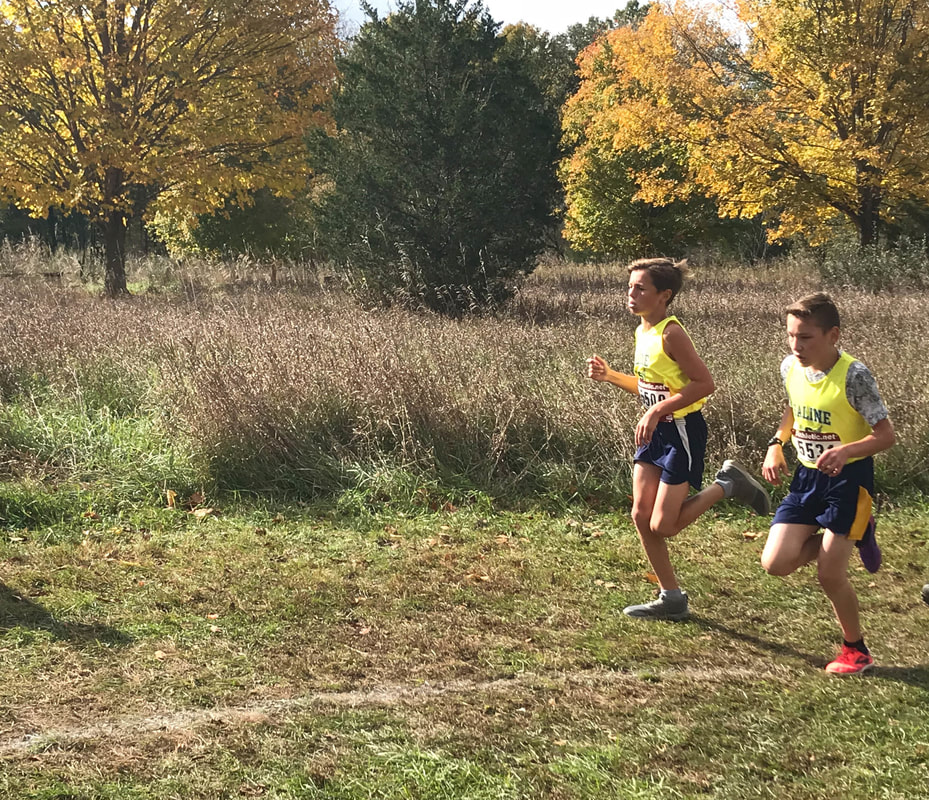
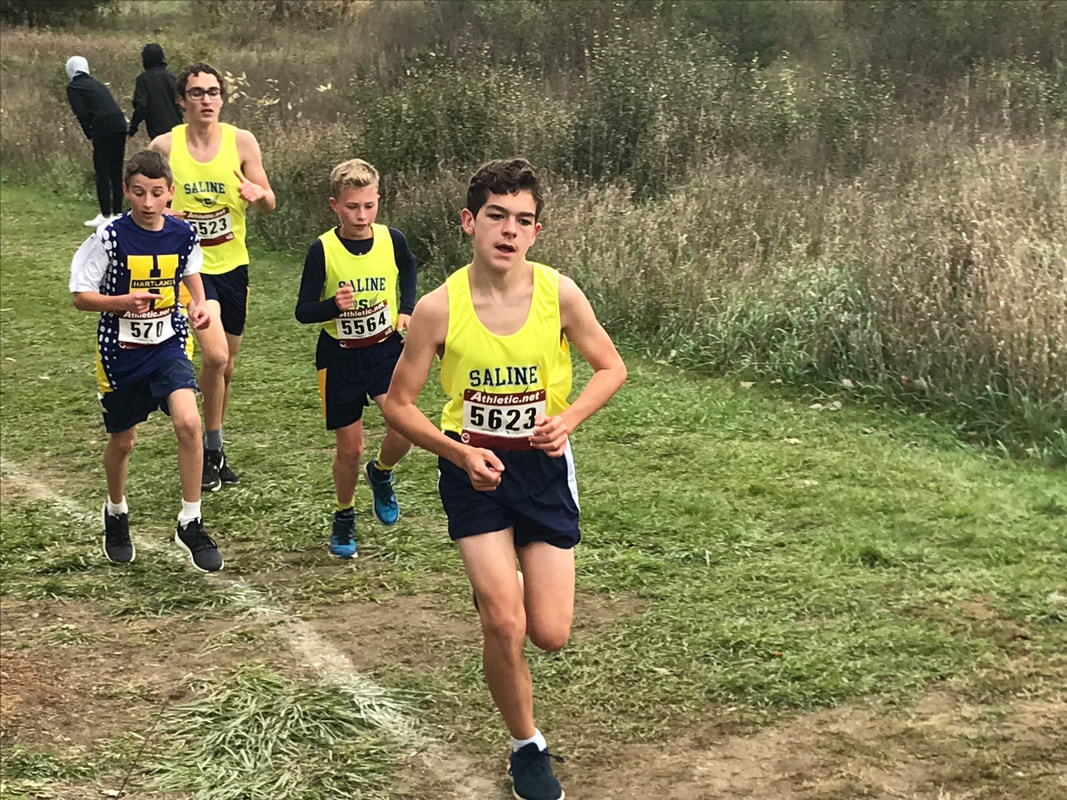
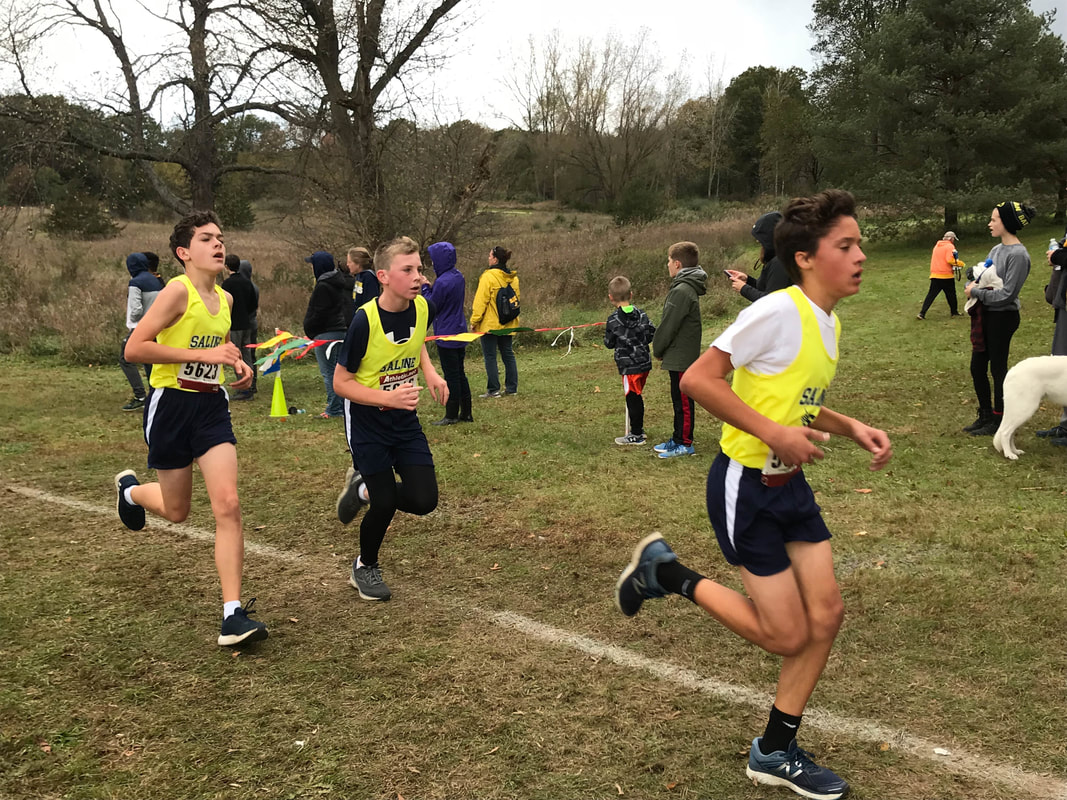
This week I took photos at my brother's Middle School Mega Jamboree meet. I ran all over the course cheering him on and taking photos for this assignment. these are my best ten photos, but I could have had so many more if they weren't running so fast. 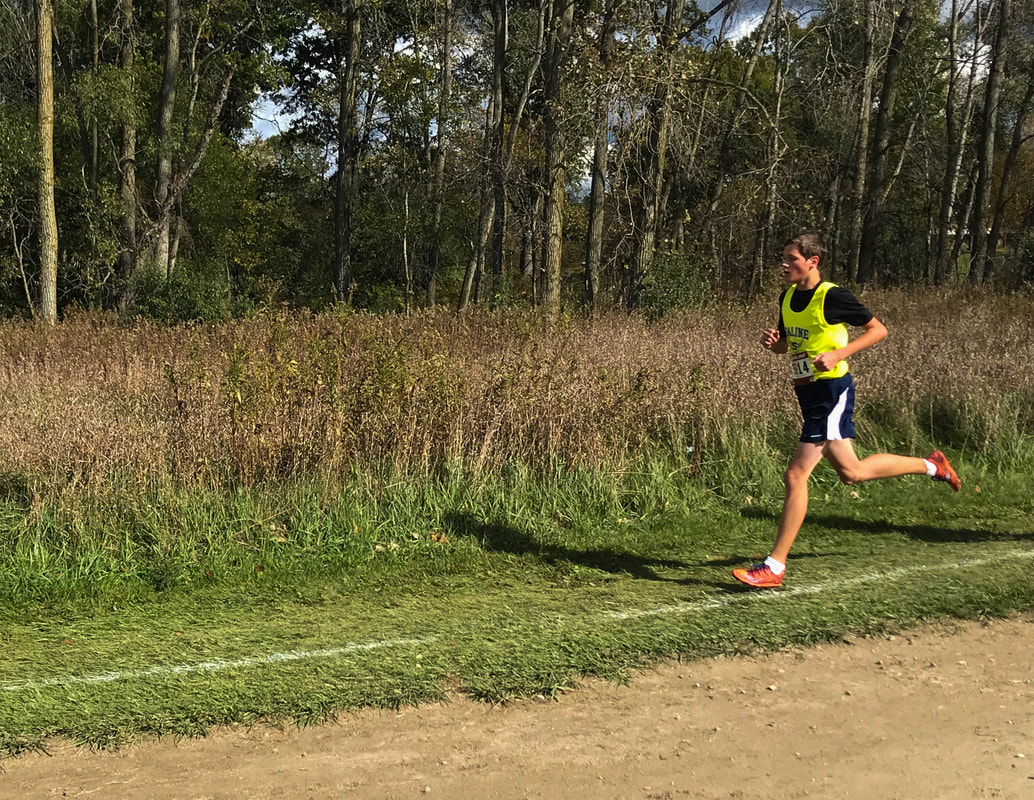 ISO 100 F/8.0 1/2000 of a second I edited this photo after taking it to make it better. I cropped the image in, and then darkened the exposure and higlights, brightened the shadows and added vibrance.
In this project, we learned how to take multiple photos and convert them into a panoramic. It wasn't that difficult because photoshop did everything for you. I also learned that the more photos you have for each panoramic, the better the panoramic will turn out. Here are five panoramics I took. |